
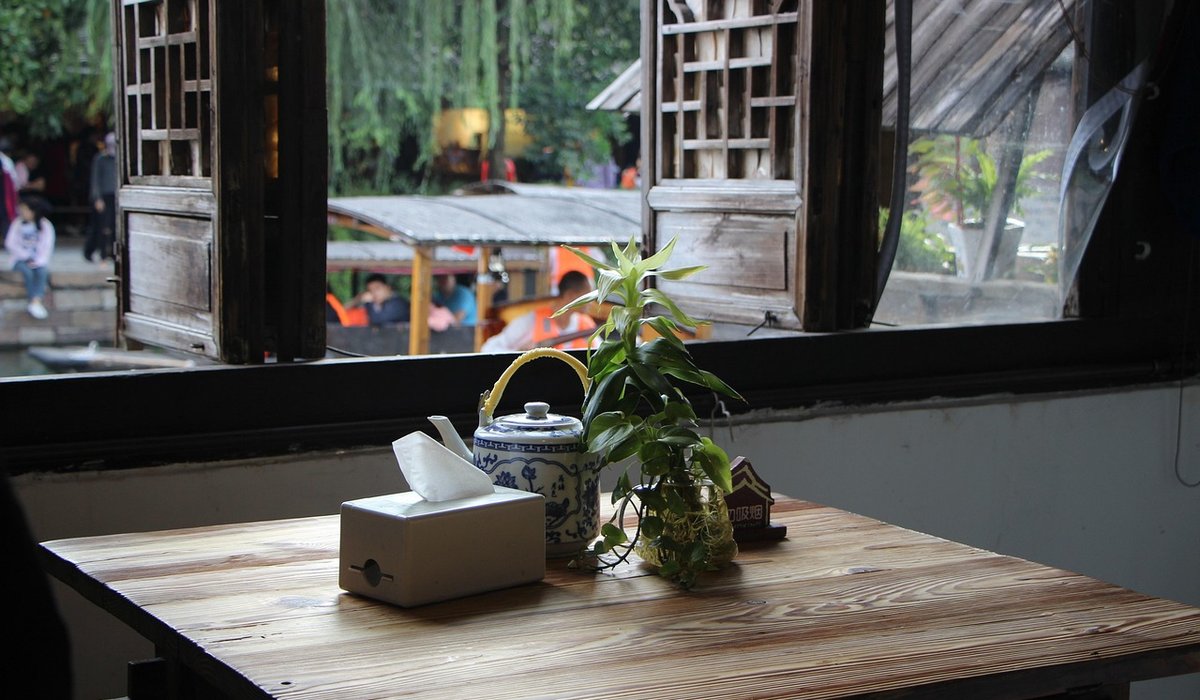
Baking Traditional Victoria Sponge for Afternoon Tea
The Cornerstone of the Tea Table
Ask anyone in Britain to name the cake that belongs on a proper afternoon tea table and the answer comes back without hesitation. The Victoria sponge is the quiet workhorse of our baking tradition — two light layers of butter sponge, a generous spread of raspberry jam, a pillow of whipped cream and a whisper of caster sugar on top. It is named, as every schoolchild knows, for Queen Victoria, who was said to take a slice with her tea in the afternoon. Whether that story is strictly true matters little. What matters is that the cake has survived for well over a century because it is genuinely good, and because it is forgiving enough for a Tuesday afternoon but impressive enough for a christening.
In a vintage parlour setting, the Victoria sponge earns its place because it does not shout. It sits on a cake stand, cuts cleanly, and asks for nothing more than a decent cup of tea beside it. Below is the method I have returned to for years, with the small details that separate a good sponge from a disappointing one.
Tin, Oven and Ingredients
Before you weigh anything, sort your equipment. You want two 20cm (8in) round sandwich tins, ideally with loose bases, and a sheet of baking parchment for each. Never rely on greasing alone — the sponge is tender and will tear. Line the base, then grease the sides lightly with a little butter and dust them with flour.
Heat the oven to 180°C (160°C fan, gas mark 4) and give it a good fifteen minutes to come to temperature. An underheated oven is the single most common cause of a sunken or pale sponge.
For the cake itself, the traditional method is to weigh your eggs and match them with equal weights of butter, sugar and flour. If you have four medium eggs, that will be roughly 225g of each. Gather:
- 225g unsalted butter, properly soft — out of the fridge for at least an hour
- 225g caster sugar
- 4 medium eggs, at room temperature
- 225g self-raising flour
- 1 level tsp baking powder
- A pinch of fine salt
- A few drops of vanilla extract, if you like
For the filling: 4 to 5 tablespoons of good raspberry jam and 300ml double cream. Nothing else. Seedless jam is neater; a jam with seeds in it tastes more of fruit. Take your pick.
Making the Sponge
Cream the butter and sugar together until the mixture is genuinely pale and fluffy — a good four to five minutes with an electric hand mixer, longer by hand. This step traps the air that lifts the cake, so do not rush it. Scrape down the bowl halfway through.
Beat the eggs lightly in a jug and add them a little at a time, beating well after each addition. If the mixture looks like it might curdle, add a spoonful of the weighed flour to bring it back together. Once the eggs are in, fold in the remaining flour, the baking powder and the salt using a large metal spoon. Fold gently, cutting through the middle and turning the bowl, until you can see no streaks of flour. Stop there. Overworking the batter at this stage develops the gluten and gives you a rubbery sponge.
Divide the mixture evenly between the two tins. Weighing the tins against each other takes ten seconds and guarantees layers that match. Smooth the tops lightly with the back of a spoon.
Bake on the middle shelf for 22 to 26 minutes. They are ready when the tops are golden, spring back to a light touch, and have shrunk very slightly from the sides. If you are unsure, press gently in the centre — it should feel set, not spongy and damp.
Leave the cakes in their tins for five minutes, then turn them out onto a wire rack, peel off the parchment and leave to cool completely. A warm sponge will melt your cream and ruin the whole affair.
Filling and Assembling
Whip the double cream to soft peaks — it should hold its shape but still look billowy rather than stiff and grainy. Stop beating the moment it reaches that point.
Place one cooled sponge, flat side up, on your serving plate. Spread the raspberry jam across it, right to the edge, then spoon the cream on top and ease it outwards with a palette knife or the back of a spoon. Leave a small border of about a centimetre, as the cream will spread when the top layer goes on.
Sit the second sponge on top, flat side down, and press very gently. Dust the surface with a fine layer of caster sugar — not icing sugar, which is a modern habit and gives a different, colder finish. Caster sugar catches the light and looks just as it did on a Victorian tea table.
Serving and a Few Vintage Touches
Let the assembled cake sit for twenty minutes before cutting. The cream firms slightly and the jam settles into the crumb, and the slices come away cleanly.
To set the scene properly, bring out the things that make afternoon tea feel like an occasion rather than a snack. A cake stand of any height lifts the cake above the teacups. A linen cloth, even a slightly crumpled one, beats a paper napkin. Thin bone china cups, warmed with a little hot water before the tea goes in, hold the heat far better than thick mugs. Cut the sponge into generous wedges, and offer a small jug of milk rather than pouring it for your guests.
If Something Goes Wrong
- Sunken in the middle: the oven was too cool, or the mixture was underbeaten, or you opened the door too early. Leave the door shut for the first twenty minutes.
- Dry and crumbly: usually too long in the oven. Start checking at 22 minutes.
- Uneven layers: weigh the batter between the tins next time.
- Cream sliding out: the sponges were still warm, or the cream was over-whipped.
A Victoria sponge is not a showstopper, and that is precisely its charm. Baked carefully, filled generously and served on a proper plate, it says far more about British hospitality than any elaborate confection — that you thought ahead, put the kettle on, and made something good for the people sitting at your table.
tag: Tea & Cake

Eleanor Whitcombe Author
Learn the secrets of cold butter, a light touch and a hot oven for scones with a crisp top and tender crumb.
YOU MAY ALSO LIKE

Making Scones That Rise Every Time
Jul 22
10Match smoky lapsang with rich fruit cake, or bright Assam with lemon drizzle, to bring out the best in both.
read more
Pairing Tea with Classic British Cakes
Jul 18
10Greet visitors warmly, take their coats and offer a drink promptly, small gestures that make people feel valued and comfortable.
read moreAfternoon Tea
-

ERRIC CATONA
Keep topics light and inclusive, listen as much as you speak and steer clear of money, politics or personal questions.
May 19, 2016 at 5.12 pm
Reply
ERRIC CATONA
A brief handwritten message mentioning a specific moment shows genuine appreciation and keeps the warmth of hospitality alive long after the event.
May 19, 2016 at 5.12 pm
Reply -
ERRIC CATONA
Stitch simple fabric pouches and fill them with dried lavender to keep sheets fresh and add a gentle scent to your home.
May 19, 2016 at 5.12 pm
Reply
Vintage Decor
Your email address will not be published.